


Chicken tinga taco salad (for leftover chicken or turkey)
Plus, why low-carb pumpkin cheesecake bites are my dessert of choice this year

Hi! We’re a week out from Thanksgiving and I’m getting so excited. Growing up, Thanksgiving was always my favorite holiday, and I still love everything about this day that’s devoted to feasting and family time.
I have been testing these low-carb and low-glycemic pumpkin cheesecake bites and I’m thrilled that the recipe is finally ready to share! They won’t be on Stem and Spoon for a few days, but I wanted to give you the recipe early in case you’re looking for a pumpkin dessert to add to your Thanksgiving menu. THIS IS THE ONE.


My whole family, including my two-year-old niece, were fans of these mini cheesecakes. The recipe makes the perfect portion— about three to four bites— in each personal-sized cake.
I tested these a couple of different ways, and landed on a method that is so simple, as long as you have the proper tools.
Also included in this week’s newsletter— a chicken tinga taco salad recipe, which calls for pre-cooked chicken (tip: turkey works great too so save this one for after Thanksgiving!).
It’s flavor-packed and super delicious tucked into Siete almond flour tortillas with melted cheese. But it’s also just as good when served as a salad, piled on crisp romaine and topped with extras like Greek yogurt cilantro crema and quick homemade guac with pomegranate.
The recipe will most likely leave you with leftovers, so you can have it both ways!
It’s a wonderfully light and quick meal, which is always welcome leading up to Thanksgiving, and afterward, too. ;) You’ll find the recipe, nutritional info and PDF below, available to paid subscribers.
And… as it is nearly my favorite holiday and I’m incredibly grateful for each one of you here, I am currently offering 50% off a paid annual subscription for anyone who signs up through the end of the month.
That means a yearly paid subscription is only $25, just a little over $2 a month for the next year. If you have ever considered upgrading to paid (or upgrading a monthly subscription to an annual subscription), this is a great time to grab a year-long subscription at a major discount!
Paid subscribers have access to the full recipe archive, along with bonus content like my Thanksgiving menu (which actually includes three possible menus) that I sent out last week (it’s available in the post linked below).

If you are already a paid subscriber (a big THANK YOU), and know anyone who might enjoy low-carb, low-glycemic, gluten/grain-free recipes made with real foods, I’d be so grateful if you could forward my newsletter and let them know about this discount!
Feeling thankful
It is such a privilege to gain your trust in the kitchen, help put nourishing meals on the table for you and your family, and create more awareness around the health benefits of eating real food.
It’s why I spend hours on this newsletter every week, from testing recipes to writing and photography. In the spirit of gratitude, I just wanted to say thank you for supporting this newsletter— for making the recipes, for reading the posts, for sharing feedback.
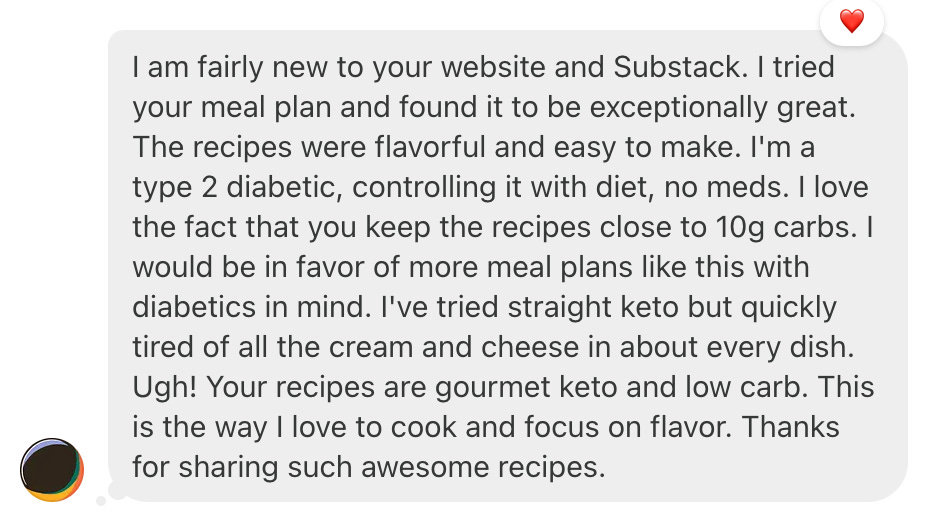
These sweet blog and Substack comments are always a wonderful reminder about why I love this work.
YUM! Thanks for the recipe- came out really well and everyone loved it.
-Nadinka about this French Silk Pie

I am SO grateful for this recipe. I found out I have Celiac Disease for almost 5 years now and knowing I couldn't enjoy my nanay's chicken adobo, which is my comfort meal and favorite food ever, it HURT me! I haven't had adobo in YEARS. I found this recipe a few weeks ago and have made it a hand full of times since then. It taste just like my nanays. I can't thank you enough and I cannot get enough of it!!!
-Jenni about this Filipino Chicken Adobo
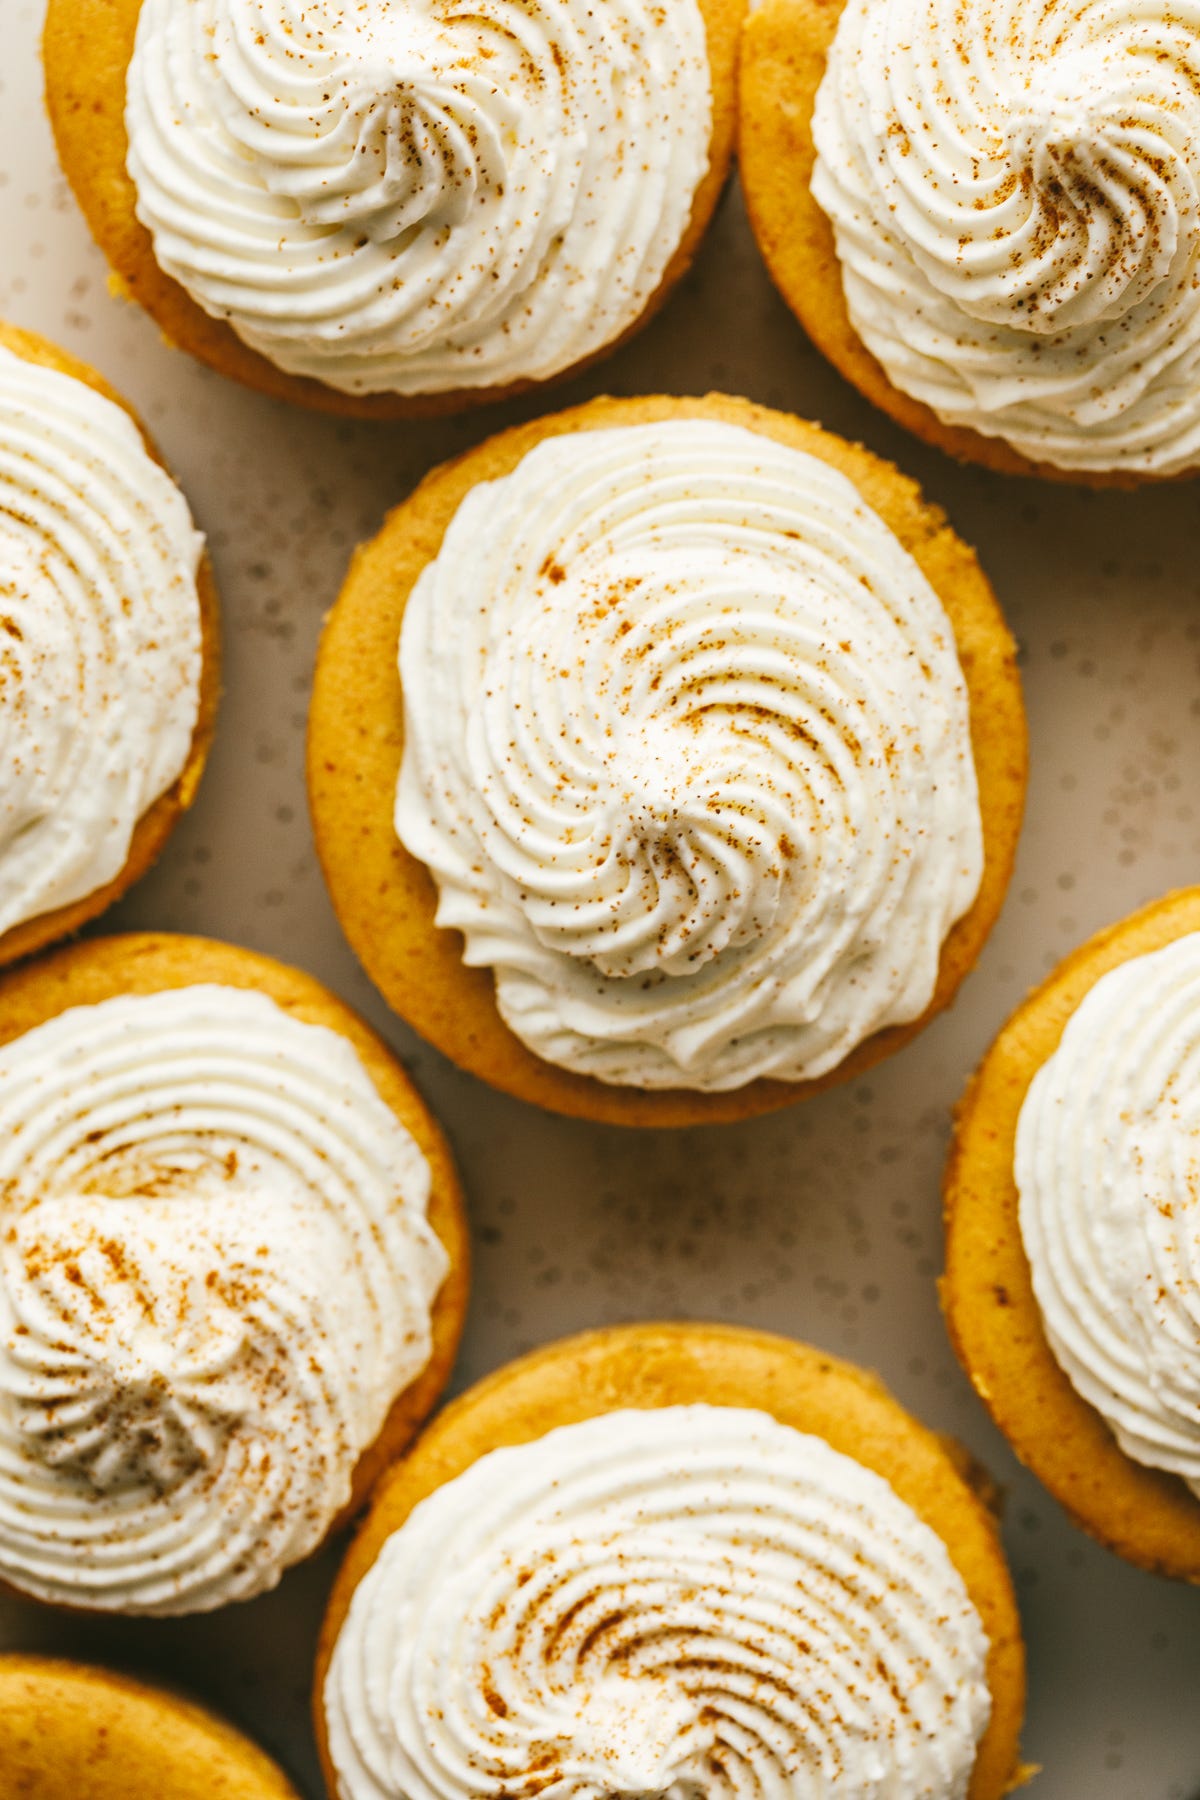
The best pumpkin cheesecake bites
I really don’t love using “best” as a modifier in a recipe title, but I am making an exception in this case. Here’s why…
After testing out these mini pumpkin cheesecakes a couple of different ways, I discovered what I believe is the best method for making the perfect cheesecake bites without mini cheesecake pans or parchment paper muffin cups required.
The silicone muffin pan does it again. I love this type of pan so much for homemade egg bites and now I have another reason to rave about it. After baking the cheesecakes then cooling and freezing them in the pan overnight, you can easily slide each frozen cheesecake out of the silicone pan. The end result is a mini cheesecake with perfect, clean edges, and zero paper muffin cups required.
My recipe calls for two of the pans. If you’re a Costco shopper, they currently have a two-pack, which I’ve seen for less at the store. This set of two on Amazon also looks like a good one!
And if you want pumpkin cheesecake bites but don’t want to invest in silicone muffin pans, you can always resort to using a muffin tin and parchment paper cups.
The recipe will soon be on the blog, but in the meantime, here it is. ☺️
Ingredients
Crust
1 cup super fine almond flour
3 tablespoons coconut flour
¼ teaspoon ground cinnamon
¼ cup granulated golden monkfruit sweetener with allulose
Pinch of salt
¼ cup melted butter or coconut oil
½ teaspoon vanilla extract
Pumpkin cheesecake filling
16 ounces (2 blocks) full-fat cream cheese, at room temperature
½ cup + 3 tablespoons granulated golden monkfruit sweetener with allulose
½ cup pumpkin puree
2 teaspoons vanilla extract
2 teaspoons pumpkin pie spice
⅛ teaspoon fine sea salt
2 large eggs, at room temperature
Instructions
Preheat the oven to 300°F. Grease two silicone muffin pans with avocado oil spray or a little bit of avocado oil, butter, or coconut oil. If you don’t have silicone muffin pans, you can line two standard muffin tins with parchment paper cups.
Make the crust: Add the almond flour, coconut flour, cinnamon, ¼ cup monkfruit sweetener, and salt to a medium mixing bowl. Whisk the dry ingredients together, then add in the melted butter and vanilla extract. Whisk well until a crumbly mixture forms. Spoon 1-½ to 2 tablespoons of the mixture into the bottom of the muffin cups, then use a small spoon or your fingers to pack it down to form a crust about ¼-inch thick. Set aside.
Make the pumpkin cheesecake filling: Add the cream cheese to the bowl of a stand mixer (or use a large mixing bowl with a handheld electric mixer). Mix the cream cheese for 1 minute, then add the monkfruit sweetener and beat on high speed for 3-4 minutes, scraping down the sides of the bowl with a rubber spatula halfway through.
Add the pumpkin puree, vanilla extract, pumpkin pie spice, and salt to the cream cheese mixture. Beat on high for 1 minute. Scrape down the sides of the bowl with a rubber spatula, then beat on high for another 30 seconds.
Add the eggs, one at a time, mixing on medium speed for about 30 seconds after each egg is added. Scrape down the sides of the bowl, then mix on medium speed for another 30 seconds.
Bake: Carefully spoon the pumpkin cheesecake mixture into the muffin cups, filling them ¾ of the way full. If you have leftover, you can add a little bit more to each of the cups. Transfer both of the pans to the center rack of the oven and bake at 300°F for 15-19 minutes. They should barely jiggle when done baking, and shouldn’t form any cracks on top.
Cool and freeze: Remove from the oven and let the cheesecakes cool completely in the pans. When cooled to room temperature, transfer the pans to the freezer for at least 4 hours.
Defrost: Gently remove each of the cheesecake bites from the silicone pan by pushing the muffin cup base upward until the frozen cheesecake pops out. Set each one on a serving platter and defrost in the fridge for at least 1-2 hours. Top with about 1-½ tablespoons of sugar-free whipped cream to serve.
Recipe notes
For a crust shortcut, use 1-½ cups Real Phat Foods sweet crumbs or crushed Cinnamon Almond Flour crackers, mixed with 3 tablespoons melted butter.
If you don’t have a silicone pan, you can line a standard muffin tin with parchment paper cups. After the cheesecakes have frozen, carefully peel away the paper cups and set each cheesecake on a serving platter to defrost.
I really like Lakanto’s golden monkfruit sweetener with allulose, as it contains no erythritol and dissolves wonderfully in the filling and crust. It doesn’t have a cooling after taste either.
Make sure to use room temperature ingredients to prevent any cream cheese lumps.
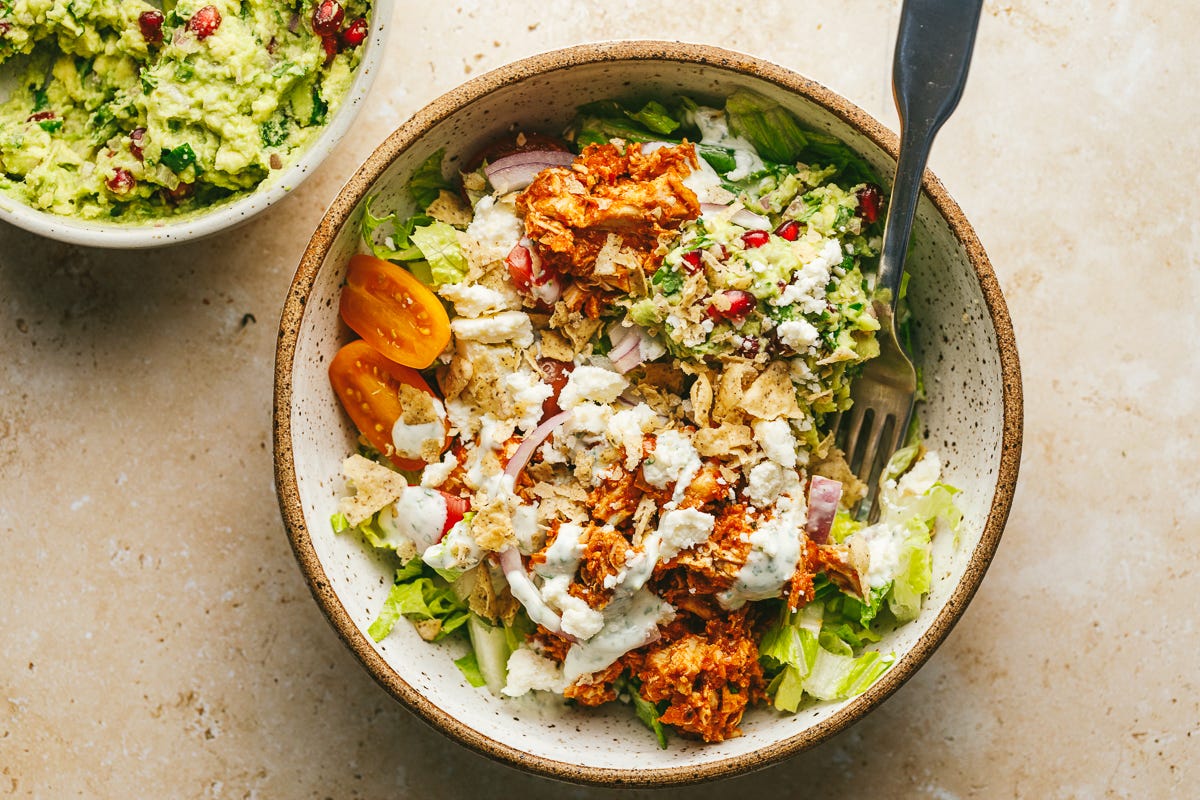
A chicken tinga taco salad
It has been a chicken tinga taco week. I’ve made the chicken a few times, eaten it as tacos, as a taco bowl, as a taco salad.
If you’ve never tried chicken tinga tacos, it is essentially shredded chicken tossed in a saucy, smoky, sort-of-spicy sauce made with tomatoes and chipotle and onions.
The chicken is fantastic on its own, but we all know that any taco salad is made infinitely better with toppings, and in this case, I went with a pomegranate-guac, crumbled cotija cheese, a cilantro crema, and crushed grain-free tortilla chips. Of course, any of these are optional so riff however you like!


Yield: 4-5 servings
Prep time: ~30 minutes
Keep reading with a 7-day free trial
Subscribe to At the Table to keep reading this post and get 7 days of free access to the full post archives.